


















Thinking about adding a pool to your backyard? Choosing fiberglass makes the installation process faster, smoother, and far less disruptive compared to concrete or vinyl alternatives. Unlike concrete pools that require months of construction or vinyl liners that need extra groundwork, fiberglass pools come pre-manufactured and are designed for efficient installation. Here’s a step-by-step look at how the process works and why it’s the smart choice for homeowners.
Step 1: Initial Consultation and Site Assessment
Meeting with the pool builder of your choice to go over the features, size, and style you desire is the first step. A site assessment will also be carried out to check access, ground conditions, and any local council requirements. This step ensures that everything is planned out before work begins, helping avoid unexpected delays later.
Step 2: Excavation and Ground Preparation
Once the design is locked in, excavation begins. Using machinery, the team digs out the exact space where your fiberglass pool shell will sit. Because fiberglass pools come in pre-formed shapes, the excavation process is precise and efficient. The ground is then levelled and compacted to create a stable base. Compared to the lengthy curing and framing required for concrete, this stage is much quicker.
Step 3: Delivery of the Fiberglass Shell

Here’s where fiberglass truly stands out. The pool shell is delivered intact and prepared for lowering into place. The pool is typically placed into the excavated area using a crane. In just a few hours, the structure of your new pool is sitting firmly in your backyard—a process that would take weeks with a concrete build.
Step 4: Plumbing and Backfilling
Next, the plumbing lines for filtration, heating, and cleaning systems are installed. Once these connections are in place, the gap around the pool shell is carefully backfilled with a mixture of gravel and stabilising material to ensure everything sits securely. This step also avoids the shifting or cracking problems that can occur with other pool types.
Step 5: Adding Water and Finishing Touches
As the pool is backfilled, water is added at the same time to balance the pressure on the shell. After that, it’s all about the finishing details—paving, decking, fencing, and landscaping to complete the look of your backyard. Since the fiberglass pool itself is already manufactured with a smooth gel coat surface, there’s no need for additional surfacing or tiling, unlike concrete.
Step 6: Handover and First Swim
Once all systems are checked and the finishing touches are complete, your pool is ready to enjoy. The builder will give you a full handover, explaining how to maintain and operate your new fiberglass pool. From start to finish, the process often takes just two to three weeks, compared with months of disruption for a concrete build.
The Clear Advantage of Fiberglass Pools
The installation process for fiberglass pools is not only faster but also far less invasive. With minimal mess, reduced construction noise, and less waiting around, you’ll be swimming in your new pool before you know it. That’s why more homeowners are choosing fiberglass for their backyard upgrade—it’s practical, reliable, and designed with convenience in mind.
Ready to Begin Your Pool Journey?
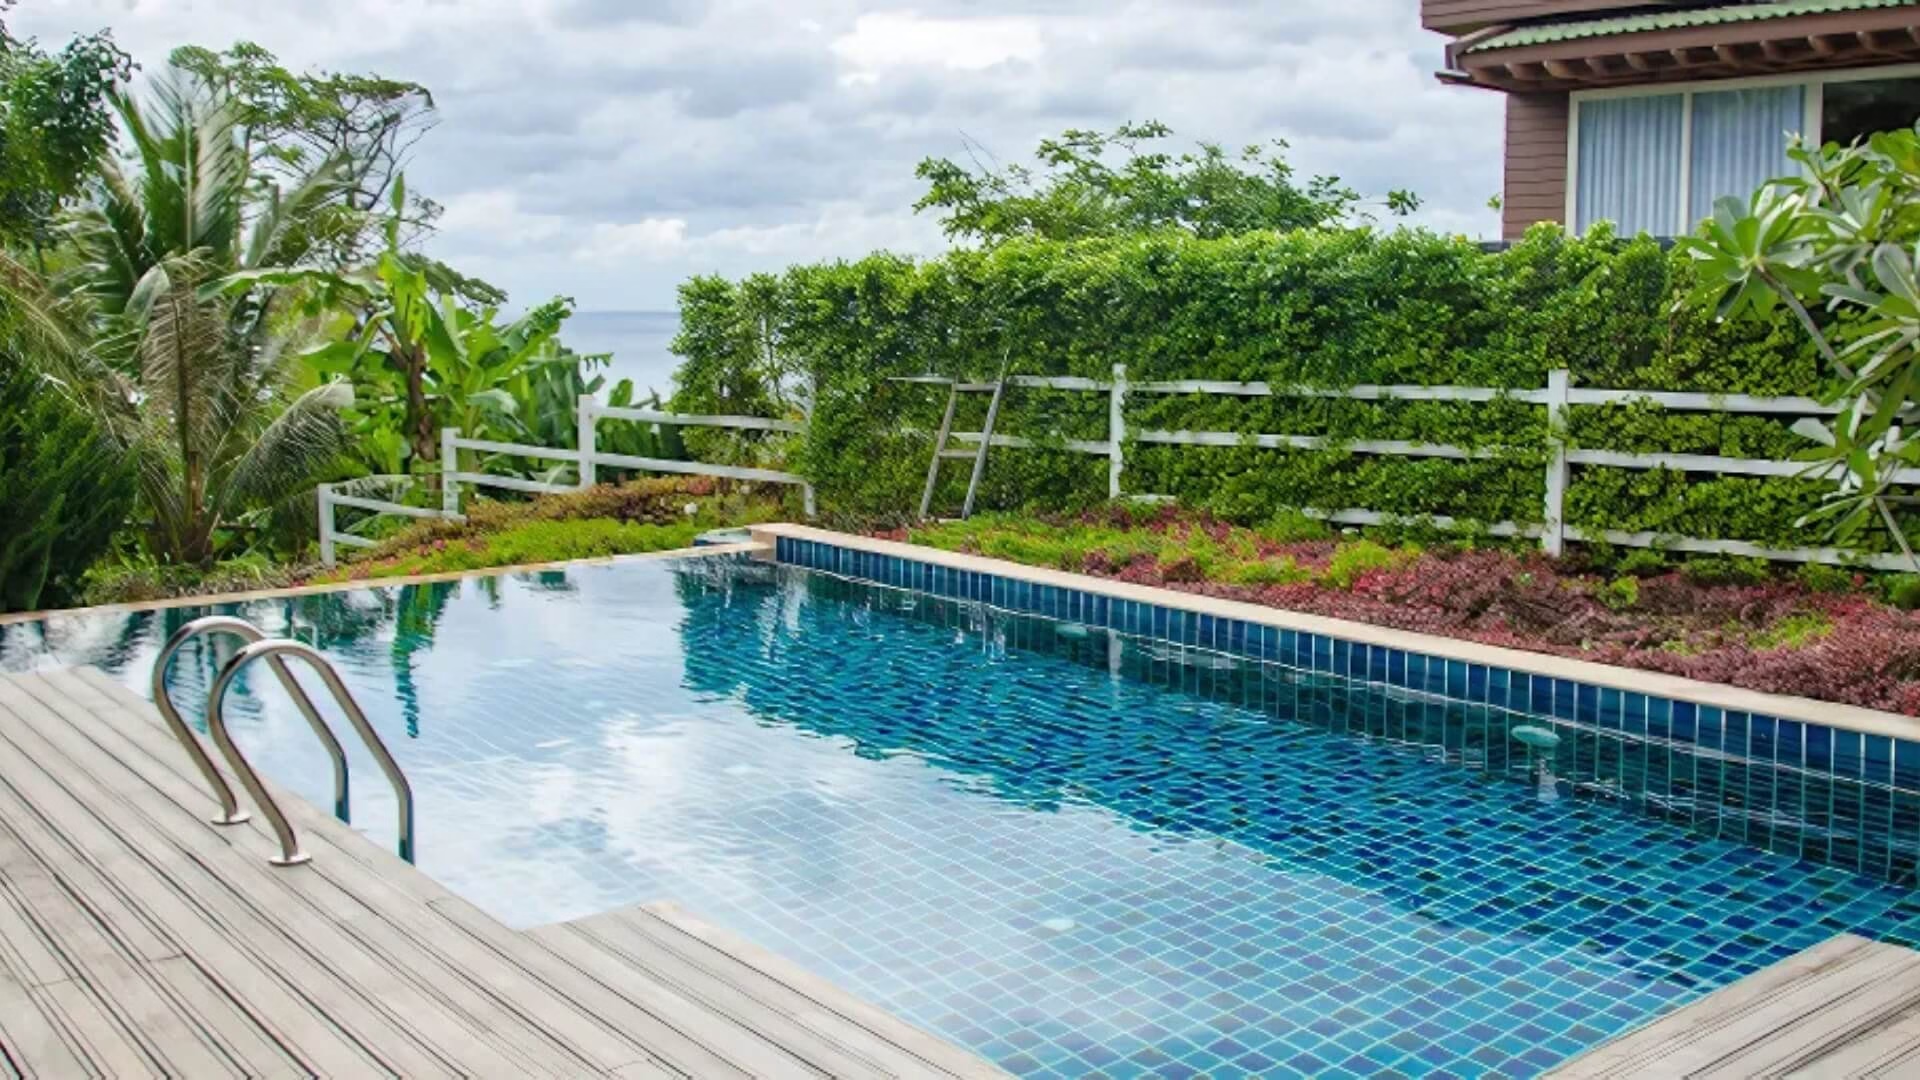
If you’re considering a pool that combines beauty with efficiency, a fiberglass pool is the ideal choice. Speak to your local pool specialists today to explore designs and start planning your dream backyard.